We finally had our new double doors installed and they turned out great!!! However, as with any home improvement, we did have some issues along the way. For one thing, the hardwood floor that was installed by the previous owner. The current floor sits higher than it should. The old door was trimmed at the bottom in order for it too open. This meant that the new door would have to sit higher than the old door and that means we would have to cut into the header. So a 3 hour job quickly turned into an all day job.
This first picture shows the installers from
Cablik Enterprises, the Atlanta dealer-installer for
Crestview Doors, checking out what they are about to get in to. They had to cut away the drywall to see what kind of header was above the door and if there was any room to play with.

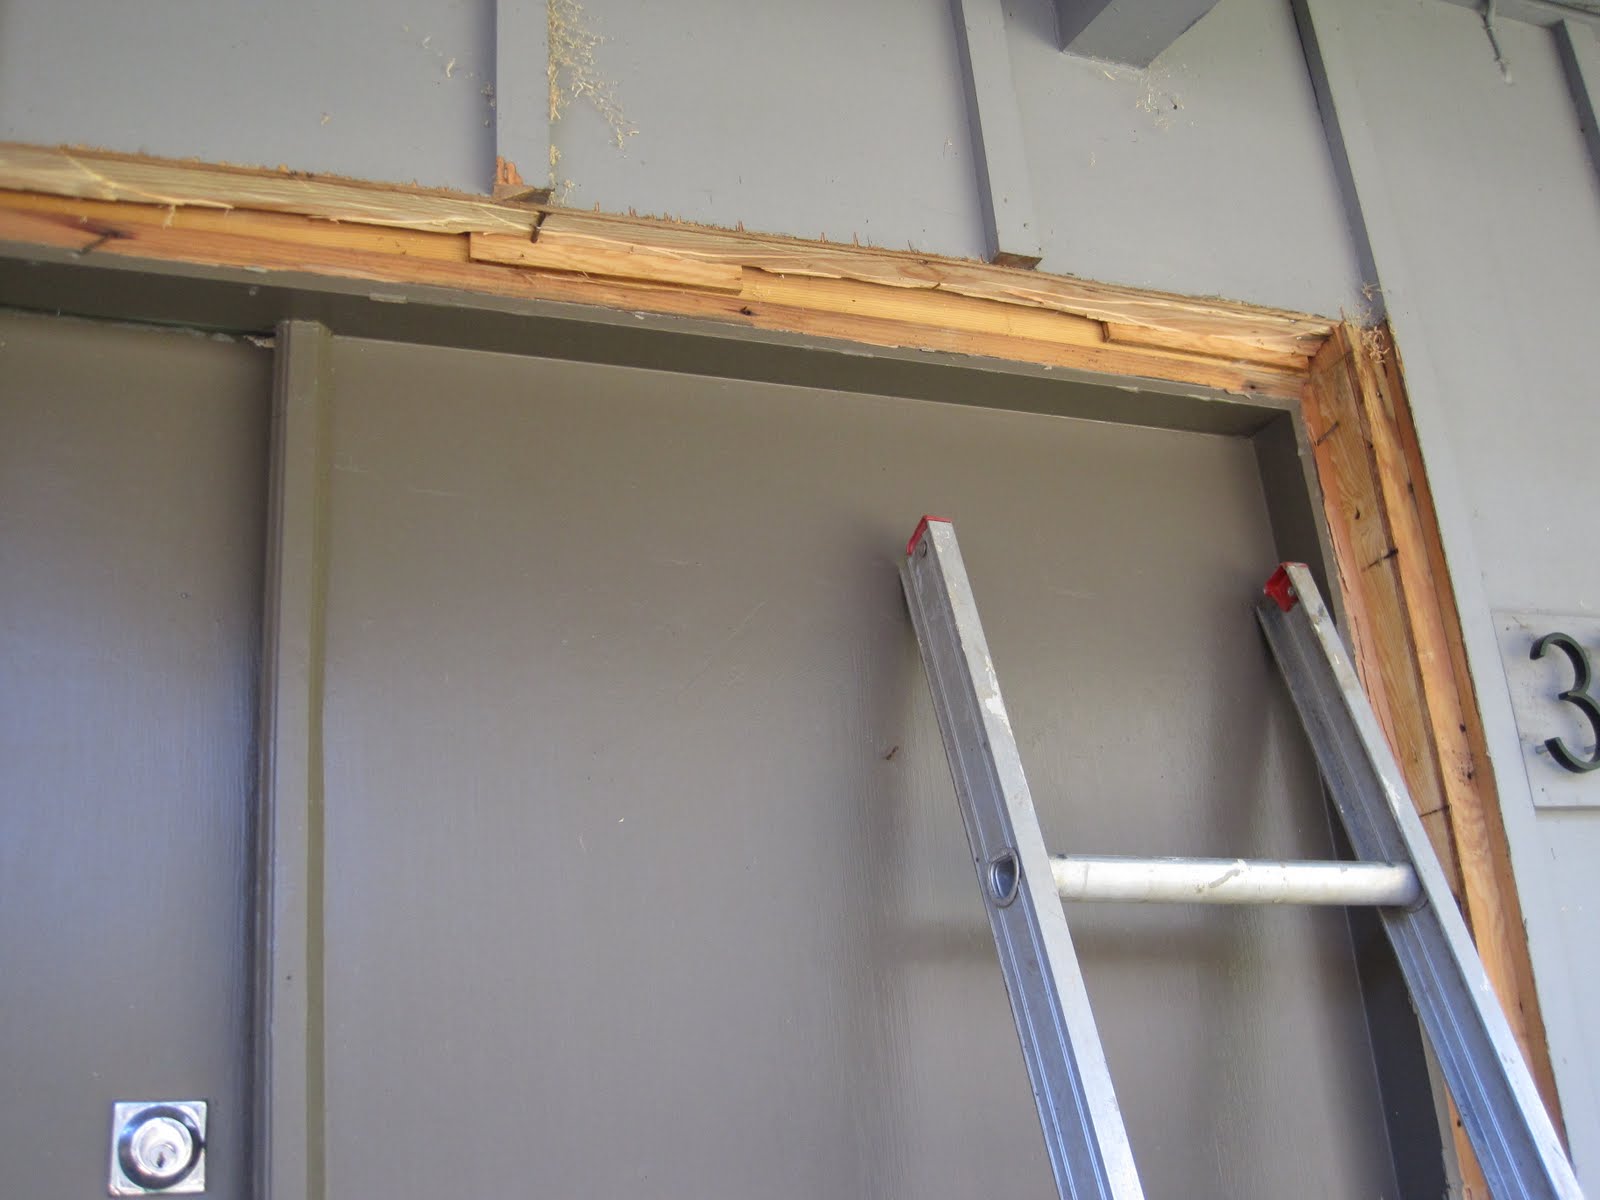
Here you can see what the header is really made of. Two 2x10's and some strips of plywood as a filler. Not the best but it's lasted for almost 50 years so I guess I shouldn't complain. You can also see how they had to chop an inch or so off the bottom in order to raise the door enough to fit.

Getting ready to yank the old door out.


My Dad getting in the way of a cool shot.

It was kind of crazy seeing the front of my house look so open. You can also see the Cablik guys getting the new door frame ready for installation.

The Crestview Door kits are really well done and the look pretty easy to install. I wish I had more doors that needed them.


I was so excited when the first door went on!


This is how the inside looks at the moment. Even though the drywall still needs to be fixed, the trim needs to be put on and the doors need to be stained, it still looks awesome. It's so nice having the extra light coming through the windows now.

The outside of the house looks a ton better too. However, I still need to pick a color for the door. It's a really tough decision! Any other suggestions or links to house pictures would be much appreciated.

Hopefully by next weekend the doors and trim will be painted. I will make sure to post pics as soon as it happens.
End of line.